Once the public page is created, it is possible to access advanced settings.
1 – Access to edit public page preferences
1. Click on Administration in the left hand menu, then click on Public Page in the submenu

2. Click on the Menu icon ![]() , then click on Edit
, then click on Edit

3. Select the Preferences tab in the edit page

2 – Customize the logo and optimize SEO
1. Customize the logo displayed on the public page
– Decide whether or not to display the logo;
– Choose the logo image;
– Set the URL address of the link when clicking on the logo.

2. Optimize search engine optimization
– Name the title of the public page;
– Set the URL address of the public page;
– Fill out the description that will be displayed in search engine results.

3 – Manage data display
1. Set the start and end date of the period for displaying data

2. Decide whether or not to display photos taken on the sites

3. Select data period and frequency

4. Decide whether or not to display weather data (temperature, rain and snow)

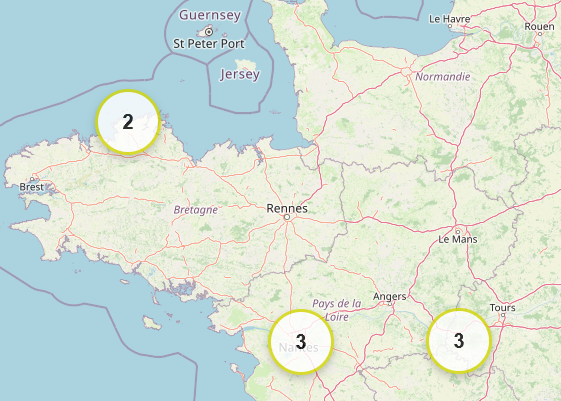
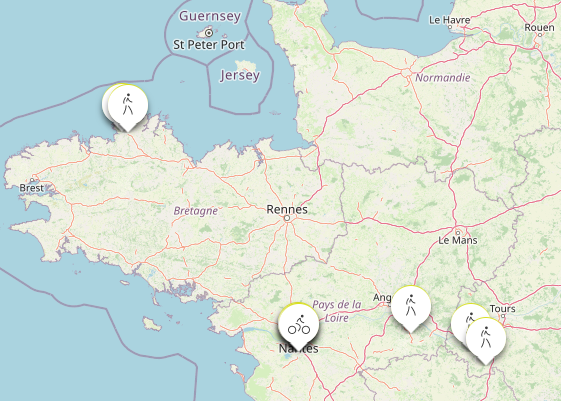
5. Choose the base map and decide whether or not to display the grouping of sites in clusters depending on the zoom level

Display by cluster:

Display by group of counting sites:

4 – Show share and download buttons
1. Activate or not the sharing buttons on social networks

2. Select export options in image format and data table format

5 – Validate the modification
Click on the Save button
